Sometimes it is the little things that can make a home feel styled. And with flu season upon us, this a timely project to give the humble tissue box a makeover. It is so easy to make and adds little sophistication to your interior.
To make a DIY leather tissue box holder, you will need:
- Box of tissues
- Piece of leather
- Super glue
- Heavy duty scissors
- Ruler
Approximate time: 1 hour
Difficulty: Easy
The project step by step
Step #1 – Trace a template on the back of your leather using your box of tissues as the guide. Flip the box over to each side and draw around it. Remember to also make angled cut-outs on the corners.
Step #2 – Using heavy-duty scissors cut out the template
Step #3 – Make a thin long opening in the centre of the main panel to be able to access the tissues later on.
Step #4 – Start folding up your edges using super glue to make a box shape. Do this on both sides.
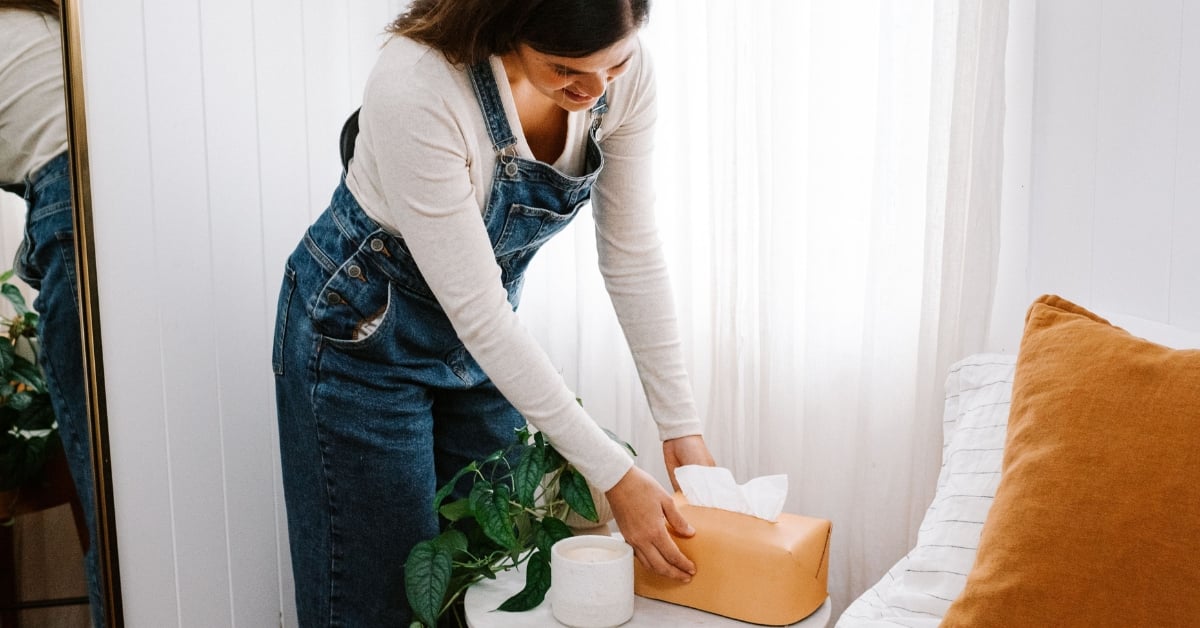
Step #5 – Place your leather cover over the tissue box. All finished!
Simply pull the tissues through and you have got the perfect finishing touch for your space!
You can see the video of this project’s step-by-step here. And for more inspiration, DIY projects and styling tips, don't forget to follow our Instagram account!
DISCLAIMER - The information provided is for guidance and informational purposes only and does not replace independent business, legal and financial advice which we strongly recommend. Whilst the information is considered true and correct at the date of publication, changes in circumstances after the time of publication may impact the accuracy of the information provided. LJ Hooker will not accept responsibility or liability for any reliance on the blog information, including but not limited to, the accuracy, currency or completeness of any information or links.
Share