This versatile and functional console table is perfect for your living room or entryway. It is a seriously easy project where you can utilise materials you may already have at home. I’ve gone for an asymmetrical look for my finished table, but you can also create a more standard shape for your piece to suit your interior.
What you need
To make this table, you will need:
- Tiles on a mesh backing
- PVC piping
- Piece of pine wood for your console top
- Paint and primer suitable for tiles and a roller
- Pre-made grout
- Liquid nails
- Scraping tool
Approximate time: 2.5 hours (excluding drying time)
Difficulty: ★★☆☆☆
The project step by step
Step #1
Spread some glue onto your PVC pipe with a scraping tool ensuring a consistent layer all the way around. You can pick up the piping from your local hardware store.
Step #2
Apply your tiles to the piping and press them down firmly. You can use any tiles but it is definitely easier with a mesh backing.
Step #3
I’ve had these tiles for a while but thought I’d change them a colour to cream. Opt for acrylic latex and enamel paint. Remember to always use a primer first on tiles and two coats of your chosen paint.
Step #4
Next, we need to apply the grout. Pre-mixed grout is easy to use and can be easily applied with a scraping tool. Make sure you press it into the grooves.
Step #5
Clean off the tiles with a wet sponge. I like the rustic look of a little bit of grout left-over or you can go for a completely clean look.
Step #6
I’ve chosen a piece of pine for the top of the console and applied a nice dark wood stain to compliment the legs.
Step #7
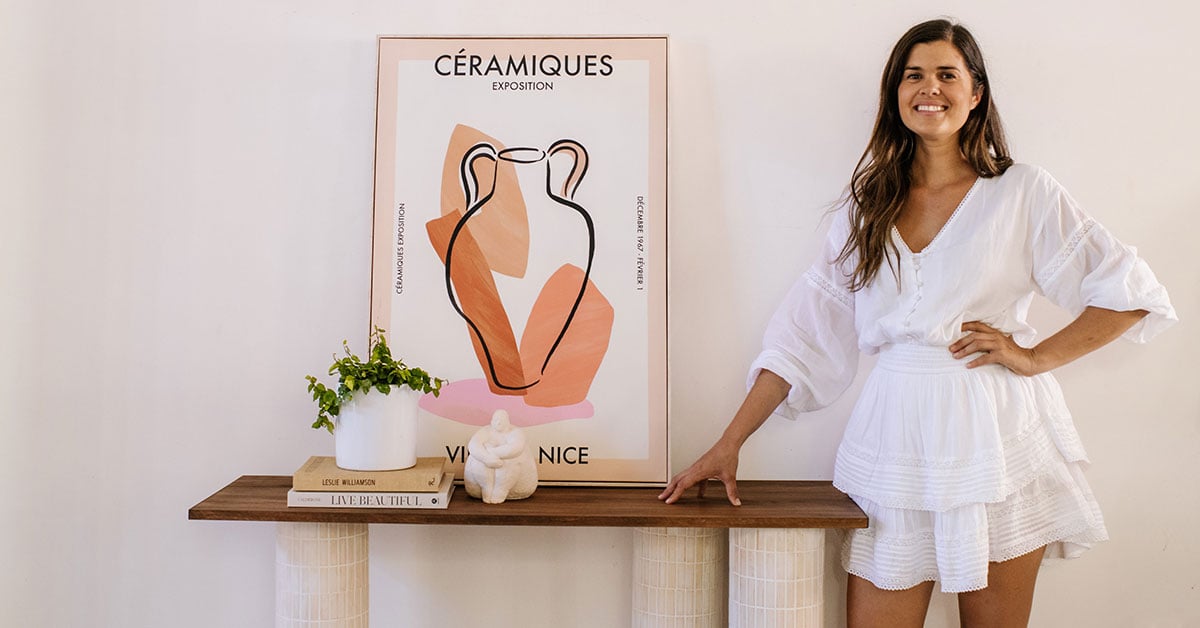
To attach the leg to the top, I am simply applying some liquid nails to the top of the PVC pipes and pressing them onto the wood. Placing the legs asymmetrically gives the console a nice modern silhouette. You could also cluster them in the middle or spread them out evenly.
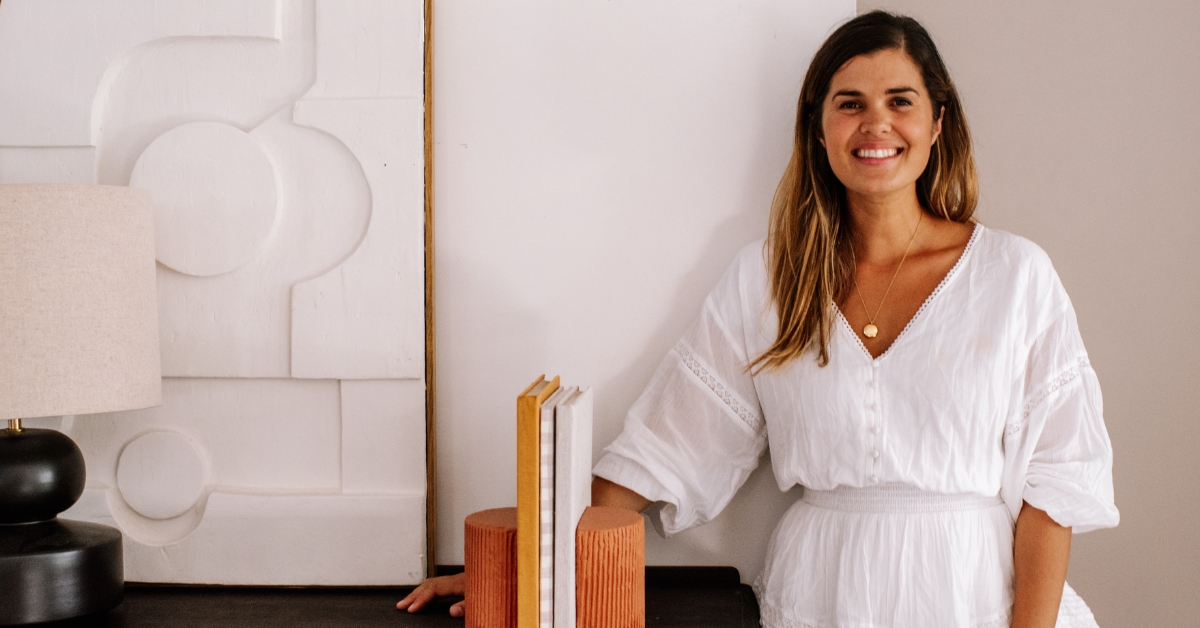
And there you go, a tiled leg console table! Style with a small vase, some books or artwork.
You can see the video of this project step-by-step here. And for more inspiration, DIY projects and styling tips, don't forget to follow our Instagram account!
DISCLAIMER - The information provided is for guidance and informational purposes only and does not replace independent business, legal and financial advice which we strongly recommend. Whilst the information is considered true and correct at the date of publication, changes in circumstances after the time of publication may impact the accuracy of the information provided. LJ Hooker will not accept responsibility or liability for any reliance on the blog information, including but not limited to, the accuracy, currency or completeness of any information or links.
Share