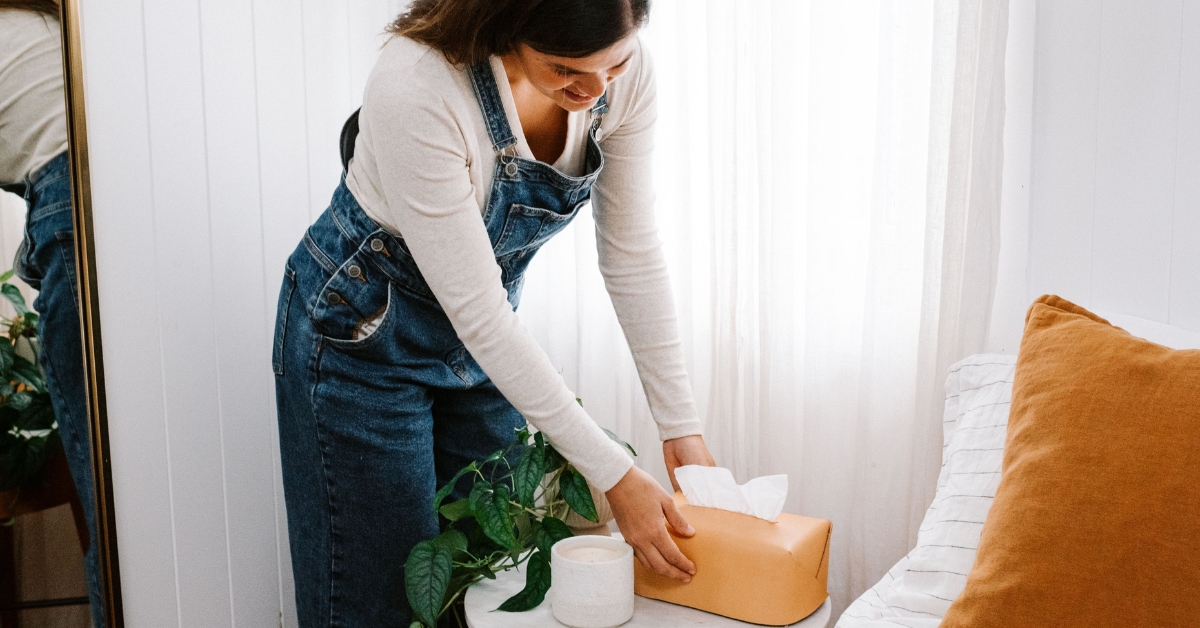
Some of my favourite projects come from making things out of unexpected materials. This tiled side table is the perfect example of repurposing items.
When I spotted a heavy-duty cardboard cylinder at a second-hand shop, I just knew it had potential. With a little imagination and design, I decided it would the perfect base for my table. This is such an easy project to create and when completed, it makes a stylish addition to your lounge room.
What you need
To make this tiled side table, you will need:
- Heavy-duty cardboard cylinder
- White penny-round or mosaic tiles on a mesh backing
- Round timber table top
- Dark brown paint
- White grout
- Jig-saw
- Drill
- Scissors
- Liquid nail glue
- Grout float
- Screws
Approximate time: 3 hours
Difficulty: ★★★☆☆
The project step by step
Step #1
Use your jigsaw to cut the cardboard cylinder in half to make it a suitable height for a side table.
Step #2
I am using a penny-round tile to camouflage the outside of the cylinder. These tiles come with a mesh backing which makes them easier to install. Use an applicator to smear the Liquid Nail glue over the exterior of the cylinder, and arrange your tiles. You may need to trim the mesh with scissors to make it fit. Let it dry overnight.
Step #3
The next step is to grout the tiles. I wanted to create a subtle difference between the grout and the tiles. I’ve added some dark brown paint to some white grout, creating a soft beige finish.
Step #4
Using a grout float start filling out in and around your tiles. Leave it to dry overnight before giving it a good clean with a sponge.
Step #5
Creating a sturdy base for our table top is essential. Start by cutting a circular piece of MDF to the same size as the interior of the cylinder tube, then slide it into position. Using a drill and some screws, attached into place at the top of the cardboard tube.
Step #6
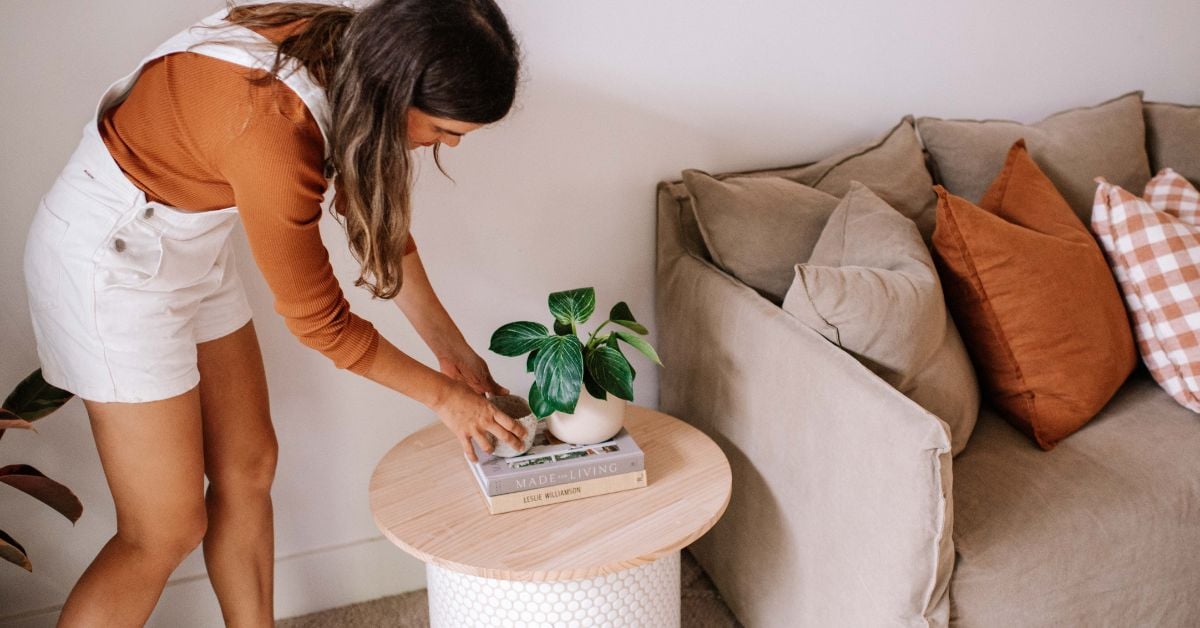
Buy a pre-cut round table top from a hardware store – you can find these made from all sorts of timbers and finishes. Place it on the ground, and put your cylinder with the base on top. Use a ruler to ensure the table top is centred. Take some long screws and connect the base.
All that is left now to do, is to turn it up the right way round and place it next to the sofa. I’ve styled mine by adding some books and a small jug. I'm so happy with the end result. It is such a fun way to give new life to materials you might otherwise throw away.
You can see the video of this project’s step-by-step here. And for more inspiration, DIY projects and styling tips, don't forget to follow our Instagram account!
DISCLAIMER - The information provided is for guidance and informational purposes only and does not replace independent business, legal and financial advice which we strongly recommend. Whilst the information is considered true and correct at the date of publication, changes in circumstances after the time of publication may impact the accuracy of the information provided. LJ Hooker will not accept responsibility or liability for any reliance on the blog information, including but not limited to, the accuracy, currency or completeness of any information or links.