I love my bathroom but kids throwing their wet swimmers onto the floor needs to stop! I found this little gem of a hook at my local hardware store and it will solve the problem. It is also the perfect colour match.
Hanging items onto brick walls is fairly straightforward, but what do you do when you want to hang something onto tiles? Let me show you!
What you need:
To hang a hook onto a tiled wall, you will need:
- A hook
- 6.5mm drill head
- Drill
- Silicon
- Green plugs
- Screw driver
Approximate time: 1 hour
Difficulty: Easy to moderate
The project step-by-step
Step #1 – First work out where you want to hang your hook – be sure to avoid the edges of the tiles as it is prone to cracking. The safest bet is in the grout line or well away from them.
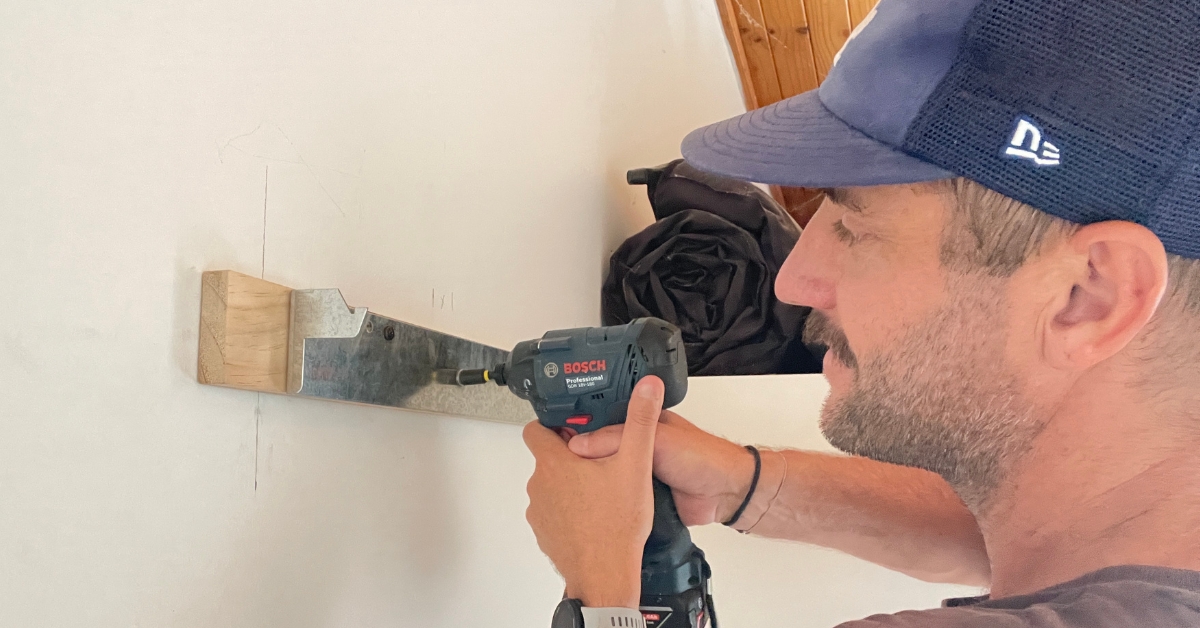
Step #2 – We need to drill a hole into our tiles to secure the hook. Don’t use a standard drill bit as it is made to go through timber, plastic and metal. A masonry drill bit works best on brickwork, so avoid that one too.
What you need is a 6.5mm tile and glass drill bit. This is the perfect size for the green plugs we will use to anchor the hook to the wall. But be careful – this drill bit is also very sharp!
Step #3 – Make sure you don’t drill with the hammer mode on or you will only end up with cracked tiles. Use plenty of water to keep the drill bit from overheating. And be sure to take it slow and steady. Remember you are cutting into a really hard surface, so don’t rush it or push too hard.
Step #4 – Pop some silicon into the hole and insert the green plug. Cut off any excess with a sharp chisel – you can also use a knife or a razor blade.
Step #5 – If you need a second hole, double check the alignment with your fitting. Remember to keep wetting the drill bit. Add the silicon and your next green plug.
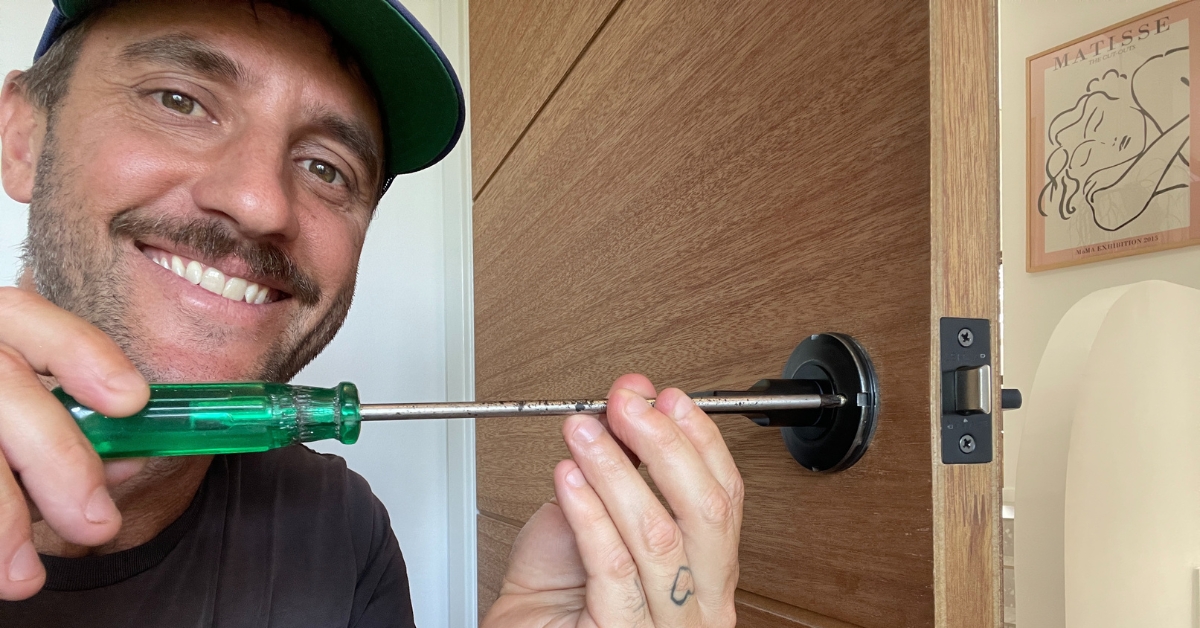
Step #6 – Our holes match up perfectly – so now we are up to the final step. Add another drop of silicon into the holes and screw in the hook.
And there you go – the kids now have somewhere to hang up their wet boardies and you just learned a new skill!
You can see the video of this project’s step-by-step here. And for more inspiration, DIY projects and styling tips, don't forget to follow our Instagram account!
DISCLAIMER - The information provided is for guidance and informational purposes only and does not replace independent business, legal and financial advice which we strongly recommend. Whilst the information is considered true and correct at the date of publication, changes in circumstances after the time of publication may impact the accuracy of the information provided. LJ Hooker will not accept responsibility or liability for any reliance on the blog information, including but not limited to, the accuracy, currency or completeness of any information or links.
Share