Updating the old door knobs in your home with sleek new ones is a simple way to give your interiors a face-lift. It not only adds value to your property but by doing the work yourself you save money – and even better it is going to look damn good!
To replace your door handle, you will need:
- New door handle
- Screwdriver
- Ruler
Approximate time: Approximately 20-minutes
Difficulty: ★★★☆☆
The project step by step
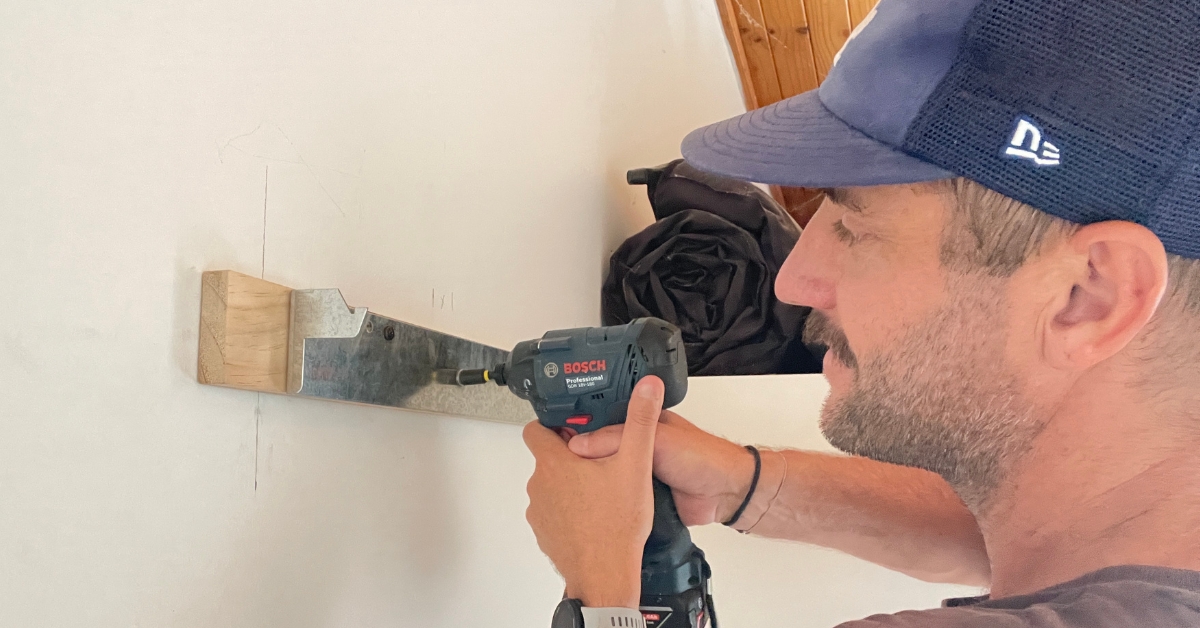
Step #1
First up let’s get rid of the old hardware. This one has two screws on the inside face of the door knob. It might also be hiding over a cover panel. Pop the handle off. Get rid of the latch bolt too.
Step #2
You need to take some measurements before buying a new door handle. Measure the width left by the door handle and write that down. The standard is about 54mm. Also, measure from the centre of the hole to the door edge. These numbers will determine what style of door handle you can choose for your update.
Step #3
There are so many door knobs to choose from at the local hardware store. An ‘entrance set’ has a lock with a key which is perfect for a front door. A ‘privacy set’ will have a bush down or turn lock. And a ‘passive set’ comes with no lock.
Step #4
As this one is going on in a bedroom, we are going to use a passive set. After opening the packaging (you may need an engineering degree here), be sure to line out all of the components.
Step #5
The new latch bolt goes in first. Make sure the curved part of the barrel faces the door frame. If it is the other way, the door won’t close. Test to see that it works (but be careful not to lock yourself in!). Next screw the latch into position.
Step #6
You will see that the latch has two holes for fixing on either side. There is one square one in the middle and that is for the spindle bolt. This door handle comes with some pins that we need to attach – some styles already have the pins already in position. Put the pins into your door handle and then pop on the cover plate.
Step #7
Attach the front side of the door handle first. Feed those pins through the two side holes in the latch and then put in the square spindle into position.
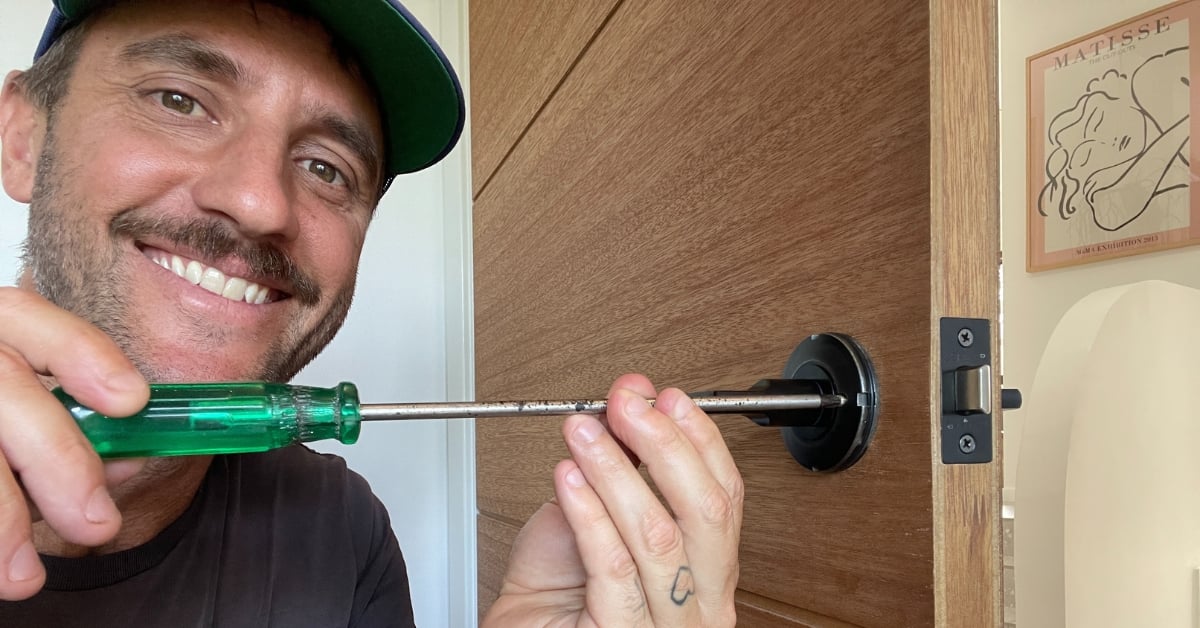
Step #8
Next, simply line up the spindle rod with the other door handle. Line up the two screws to hold the handle to the pins on the other side. It might take a while to line up the last screw – but once it is in place, tighten it with a screwdriver. Check it is level and the handles are working.
Step #9
Pop on the cover plate. And is the door done – how good does it look? You’ve added value to the home and given your interior a new look with a brand-new product. And you have also saved yourself a packet on the trades.
You can see the video of this project’s step-by-step here. And for more inspiration, DIY projects and styling tips, don't forget to follow our Instagram account!
DISCLAIMER - The information provided is for guidance and informational purposes only and does not replace independent business, legal and financial advice which we strongly recommend. Whilst the information is considered true and correct at the date of publication, changes in circumstances after the time of publication may impact the accuracy of the information provided. LJ Hooker will not accept responsibility or liability for any reliance on the blog information, including but not limited to, the accuracy, currency or completeness of any information or links.
Share