None of us looks forward to spending in the laundry – including me. This is one room of your home that needs to be as functional as possible and that means maximising your bench space. This dryer has been sitting on our countertop and taking up way too much room – so it is time to move it!
To hang your dryer, you will need:
- Tape measure
- Hanging bracket
- 1-2 pieces of timber the same width as the bracket
- Drill
- Screws
- Leveller
Approximate time: 1 – 2 hours
Difficulty: Easy
The project step by step
Building Your Base
Step #1 – Clear your bench space. Next spin the dryer around - you’ll find two holes cut into the back which are specifically for hanging. Measure the distance between them.
Step #2 – Go down to the local hardware store and purchase a hanging bracket that will fit your dryer’s measurements. Check it is the right size before you mount it onto the wall.
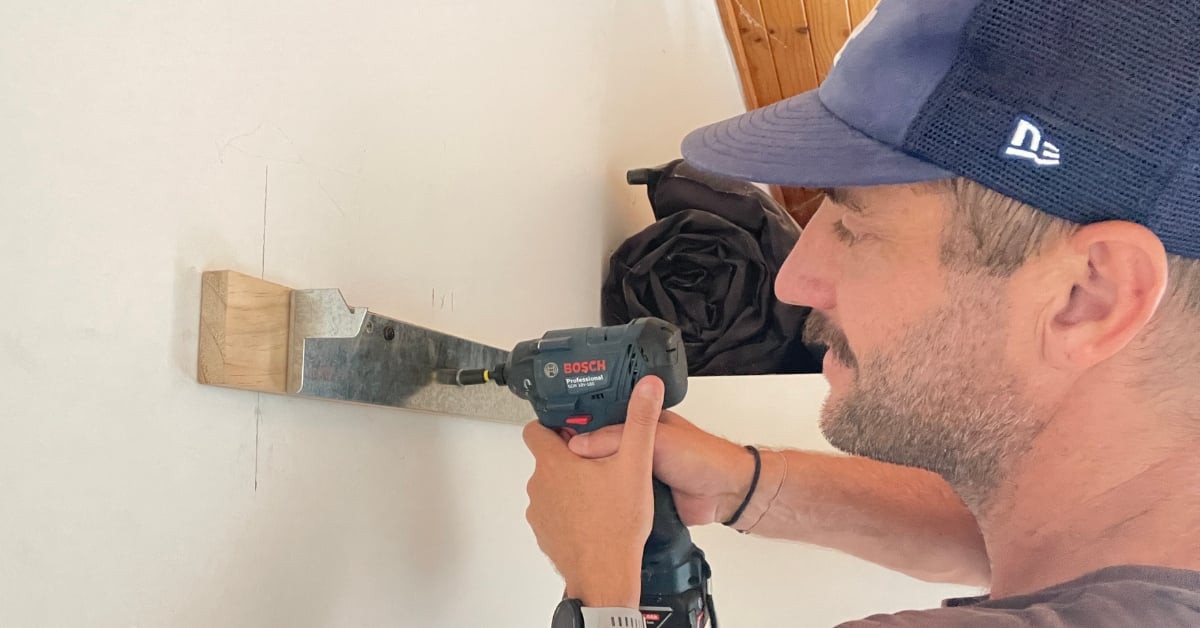
Step #3 – I can only find one wall stud in the middle – so I am going to cut a piece of timber the same width as the bracket. (You can find the studs by either knocking on the wall or using an electronic stud finder). This will hold the weight of the dryer and be fixed to our stud work behind the plasterboard.
Step #4 – Add on your bracket with a few screws. Make sure it is level and that is not too close to any walls or cabinetry.
Step #5 – Lift your dryer into place – you may need some assistance for this part!
Step #6 - I found my dryer was sitting on a bit of an angle. So I’ve cut another piece of timber to keep the back of the dryer off the wall. I’m mounting this at the bottom of the dryer. This will also give the power cord a bit of space as well.
Step #7 – Hang the dryer again – guiding it into the holes and making sure they line up.
Easy does it and there you go!
Now I can’t make laundry fun for you but I can make it a little bit easier. We’ve freed up some bench space and made it a bit more functional. Now how do I actually use this dryer?
You can see the video of this project’s step-by-step here. And for more inspiration, DIY projects and styling tips, don't forget to follow our Instagram account!
DISCLAIMER - The information provided is for guidance and informational purposes only and does not replace independent business, legal and financial advice which we strongly recommend. Whilst the information is considered true and correct at the date of publication, changes in circumstances after the time of publication may impact the accuracy of the information provided. LJ Hooker will not accept responsibility or liability for any reliance on the blog information, including but not limited to, the accuracy, currency or completeness of any information or links.
Share