How to Build Your Own Veggie Garden With Shannon Vos

The cost of food these days is getting ridiculous, and the amount that my kids eat is scary! That's why as well as trying to save money and live a simpler life, I am going to build a veggie patch.
What you need
To make your own veggie garden, you will need:
- Treated timber sleepers
- Weed matting
- Soil
- Mulch
- Seeds
- Blue Metal gravel
- Bugle Batten screws
- Metal brackets and timber screws
- Drill
- Shovel (to level the ground if needed)
Approximate time: 4 hours
Difficulty: ★★☆☆☆
The project step by step
Building your veggie garden base
Step #1
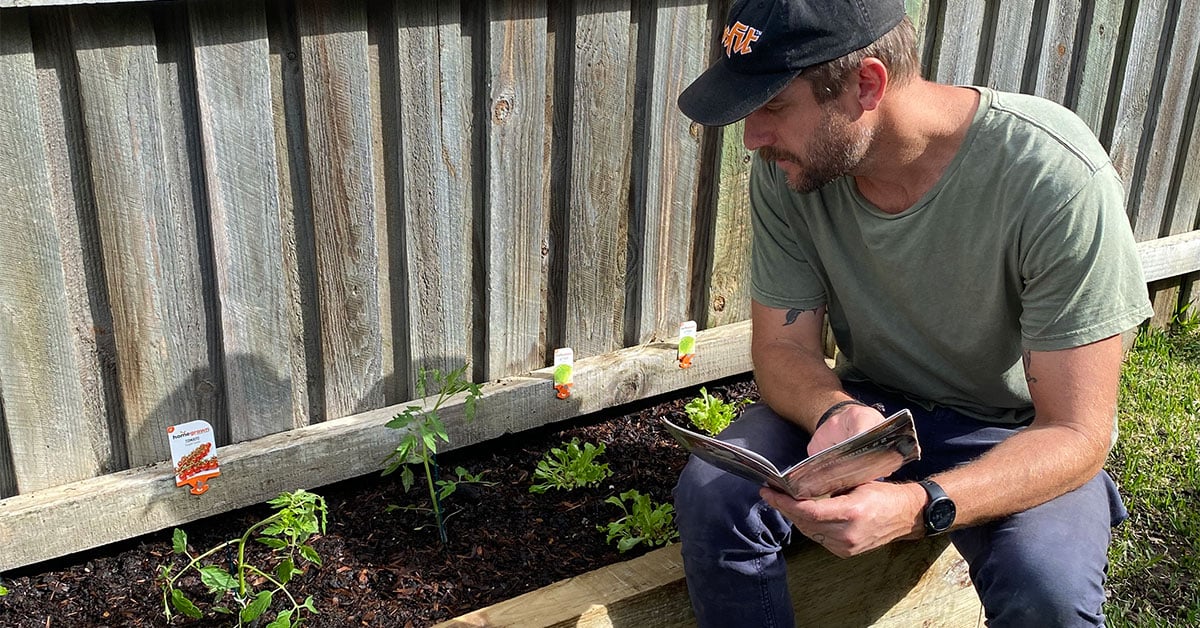
Look for a spot in the garden that attracts a decent amount of sun but is also protected from the southerly winds. I am creating my veggie patch against a treated timber fence. Make sure you are building on level ground. You can also dig a spot to make the surface flat.
Step #2
Once it is level, you may want to throw in some blue metal stone as a base.
Step #3
Next place your timbers to make sure it fits. I am using treated sleepers rated to H4 which means that they are termite-proof and won’t rot. Remember if you are cutting treated timber always wear proper protection such as safety goggles and a mask.
Step #4
I am stacking these sleepers on top of each other which creates 40cm which is perfect for a garden bed. They need to be fixed to the fence and each other before we put any weight in it. I have some brackets with timber screws. Drill a pilot hole before driving bugle screws into the ends which will make it more secure.
Filling your veggie garden
Now it is time for the fun stuff, filling your veggie garden!
Step #5
Put down some weed matting or geo-fabric which will keep the soil in one place and prevent the weeds from coming through.
Step #6
Go nuts with some good-quality soil.
Step #7
Add some mulch.
Step #8
Plant your seeds, give them a water, and start counting the money you are saving!
So there you go, your very own veggie patch! You have added to the value of your home, you have saved on your weekly shop, and you can now enjoy the fruits – or vegetables – of your labour.
You can see the video of this project’s step by step here. Make sure to save it, and for more tips and easy projects to renovate or simply add value to your home, don't forget to follow our Instagram account!
DISCLAIMER - The information provided is for guidance and informational purposes only and does not replace independent business, legal and financial advice which we strongly recommend. Whilst the information is considered true and correct at the date of publication, changes in circumstances after the time of publication may impact the accuracy of the information provided. LJ Hooker will not accept responsibility or liability for any reliance on the blog information, including but not limited to, the accuracy, currency or completeness of any information or links.
Share


