I’m all about saving money on a renovation, while adding value to a home. And if you are willing to have a go, there are plenty of jobs you can do yourself, like tiling a splashback. If you keep it simple, it's the type of jobs that should be fairly easy.
I was halfway through a little laundry makeover and everything was almost in place. However, we needed a new splashback, so let's learn how to tile one.
What you need
To tile your splashback, you will need:
- Tiles
- Blue tape
- Drop sheet
- Notch trowel (8mm)
- Tile glue
- Small tile spacers
- Leveller
- White angle strip (10mm)
- Pre-mix grout
- Rubber trowel
Approximate time: 4 hours (but really, it varies depending on the project)
Difficulty: ★★★☆☆☆
The project step by step
Step #1
Remove the old splashback and make sure the walls are sound and ready for the new tiles. We had to replace a few sheets of villaboards for this project.
Step #2
Next, you need to come up with a plan on how to place your tiles. This means setting out all the tiles and working out where each one is going. The last thing you want is to be left with any awkward cuts at the end.
Step #3
We’re stacking some left-over subway tiles in a vertical pattern for this project. Remember, wall tiles generally need a 1.5mm gap between them. So I’m adding this to the width while calculating just how many tiles we will need.
Step #4
Before you start tiling protect your surrounding area – in this case a new bench top - with some blue tape and drop sheet.
Step #5
Apply tile glue to the desired height on the wall using a notch trowel – this one is 8mm. And gently start pressing the tiles into place. Small tile spacers will keep them neatly apart. It is a good idea to check everything is level as you go along. I also like using a white angle on top of my tiles as it keeps everything neat. A 10mm angle sits on top of an 8mm tiles perfectly.
Step #6
The last tile will likely need a cut. We are using a grinder with a new tile blade - it gives us a clean, smooth cut. Even better, it saves on hiring a huge tile cutter.
Step #7
It can be tricky tiling around a window frame. Again, set out your tiles and try to eliminate the need to cut the tiles. Remember to just take your time.
Step #8
Clean up all the glue and thick bits between the tiles. Wait a day to dry for everything to dry.
Step #9
It is time to grout! We are using a pre-mixed white grout with a rubber trowel. Apply it at a 45 degree angle. Take your time to fill in all the grout lines and try to leave as little excess as possible. Trust me it makes for easier cleaning. Once it is hazed off, start cleaning with a damp sponge.
Step #10
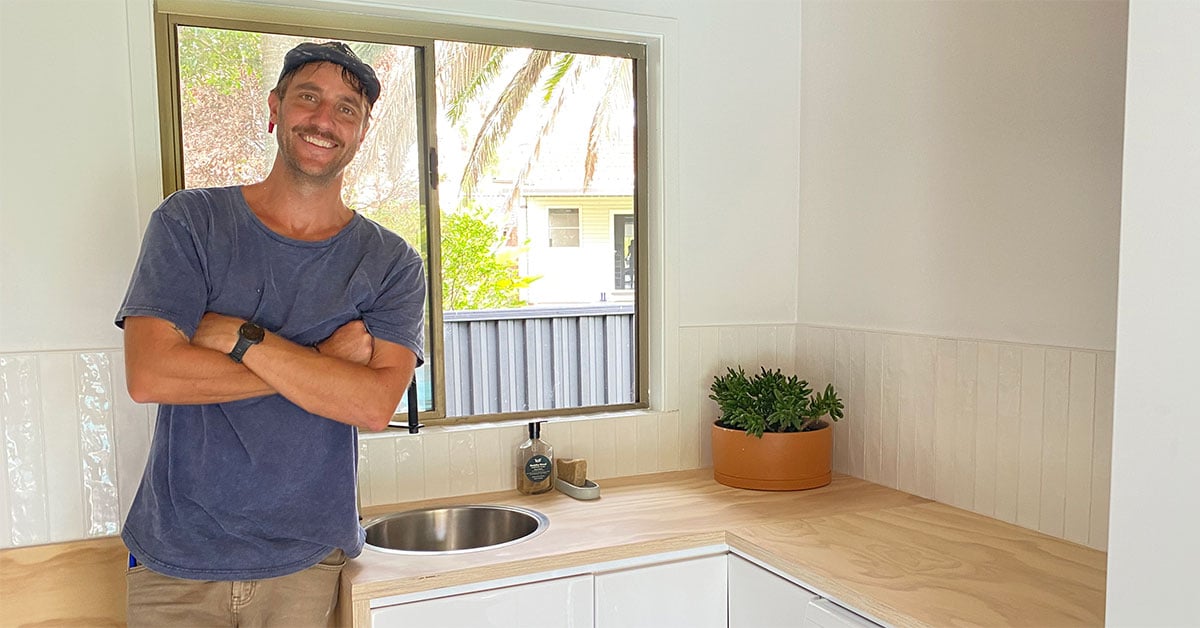
A hit of silicon to finish and there you go; you’ve tiled a splashback!
You’ve just saved yourself a bunch of money and gained a great skill for further renos. Importantly, you’ve added plenty of value to your home. Now time to do some washing...
You can see the video of this project’s step-by-step here. And for more inspiration, DIY projects and styling tips, don't forget to follow our Instagram account!
DISCLAIMER - The information provided is for guidance and informational purposes only and does not replace independent business, legal and financial advice which we strongly recommend. Whilst the information is considered true and correct at the date of publication, changes in circumstances after the time of publication may impact the accuracy of the information provided. LJ Hooker will not accept responsibility or liability for any reliance on the blog information, including but not limited to, the accuracy, currency or completeness of any information or links.
Share