Mixing and pouring concrete at home really is as easy as making a cake! My project is to create a 2m metre strip of concrete for underneath my wheelie bins. But you may have another area outdoors that could also benefit from a concrete base.
To make and pour a concrete slab, you will need:
• Pre-mixed bags of concrete
• Old timber to make a frame
• Bag of sad
• Bag of gravel
• Leveller
• Trowel
• Shovel for mixing
Approximate time: 2 hours
Difficulty: Medium
The project step by step
Step #1 – Use your timber to form a mould for the concrete. Remember to keep it level. If the ground is wet underneath create a small base using gravel and sand.
Step #2 – The hardest part of pouring concrete is figuring out just how much you will need for your project. To do this, simply work out the length of the surface area multiplied by the thickness of the slab.
As an equation, it is length x width x thickness (all in metres).
Then multiply your answer x 100 to work out how many bags of concrete you will need. Keep your calculations in metres.
For this project, we have a strip 2m in length, 400mm in width and 0.5cm in thickness. So, that is:
2 x 0.4 x 0.05 = 0.04
0.04 x 100 = 4
So we will need 4 x bags of concrete.
Remember, if you want to drive on the concrete slab, be sure to start with a 100mm thickness. If you want to be able to walk on it, start at a minimum of 0.75mm. If tackling a bigger project, you may need steel mesh to reinforce and add extra strength.
Step #3 – Opt for pre-mixed bags of concrete from your hardware store. They are so much easier as they have the sand, cement and aggregate in there already. It really is like mixing a cake batter – put it into a large tub and all you have to do is add water. Put on a mask on when doing the mixing!
Step #4 – Add the water gradually until you have it looking a little like a sloppy breakfast cereal. Mix it up really well and then pour it into your mould.
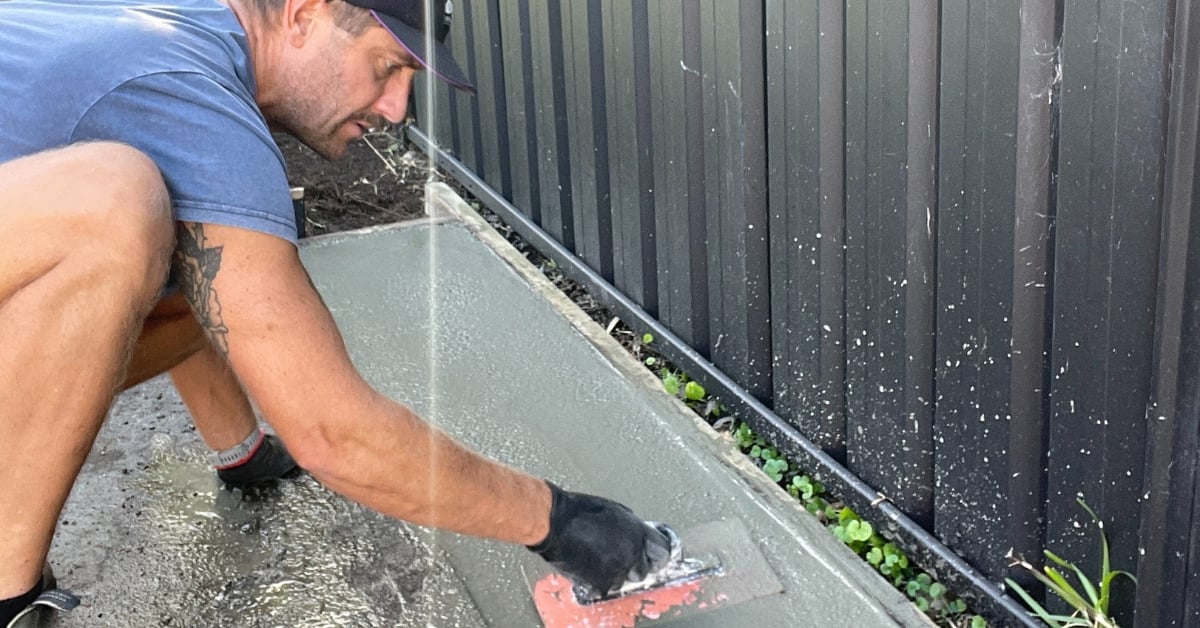
Step #5 – Use a trowel or a piece of timber with a straight edge to smooth the top out. Work the concrete lightly until it is flat and level. It is also handy to have a spare bag of premixed concrete, just in case you feel it needs a bit more.
Step #6 – Leave it a day to harden before taking out the formwork. And there you go!
This concrete slab won’t win any beauty contests but you have done it yourself! And no need to call a tradie!
You can see the video of this project’s step-by-step here. And for more inspiration, DIY projects and styling tips, don't forget to follow our Instagram account!
DISCLAIMER - The information provided is for guidance and informational purposes only and does not replace independent business, legal and financial advice which we strongly recommend. Whilst the information is considered true and correct at the date of publication, changes in circumstances after the time of publication may impact the accuracy of the information provided. LJ Hooker will not accept responsibility or liability for any reliance on the blog information, including but not limited to, the accuracy, currency or completeness of any information or links.