Updating your doors with a new coat of paint is easy, once you know a few tricks of the trade. It also means you will end up with a professional finish without having to pay a professional to do it.
Whether you a painting a flat door or one with more detail, we will let in you in on a few secrets to achieving that high-end finish. Let’s go!
What you need
To paint doors like a pro, you will need:
- Foam sanding block
- 3-in-1 primer, sealer and undercoat
- Water-based enamel paint
- 9mm microfibre roller
- Quality paint brushes
- Drop sheets
- Cloth for wiping down the dust
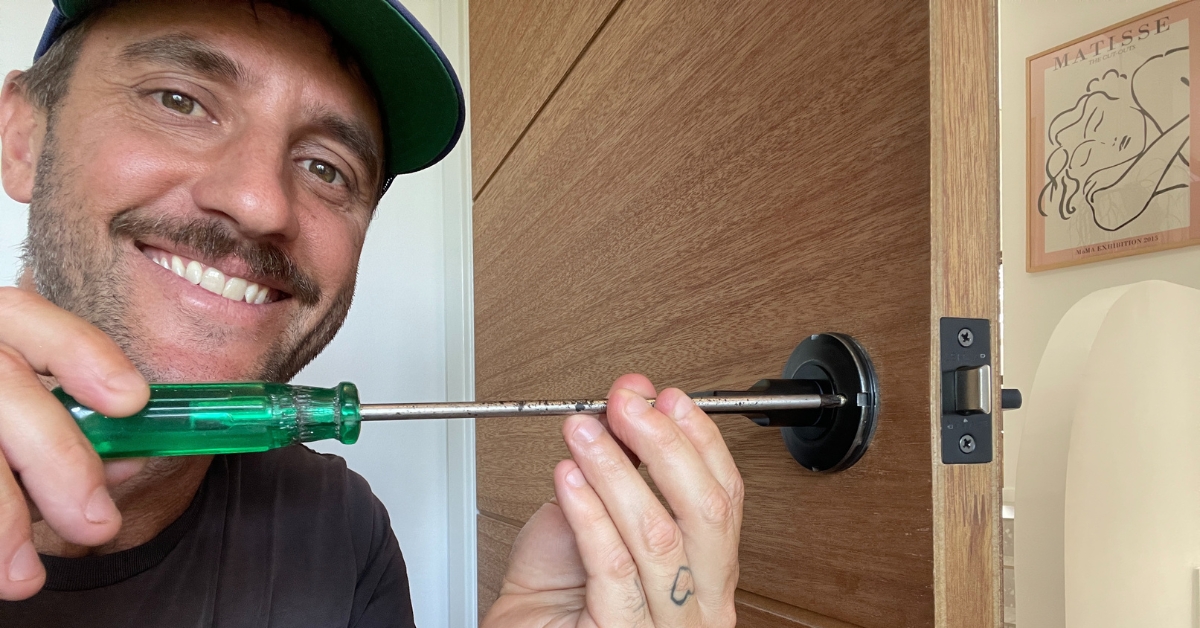
- Tools for removing and reattaching the door handle
Approximate time: Try to be quick!
Difficulty: ★★☆☆☆
The project step-by-step for textured doors
Step #1
First take the hardware off and give your door a good sand. Use your foam sanding block to get into all of the edges. Remember to remove the dust.
Step #2
Next we need to apply an undercoat. My preference is for a 3 in 1 brand which combines the functions of a primer, sealer and undercoat. Before you paint, give your brush a quick rinse and spin the water out. Always paint the bottom edges of your doors that way they will last much longer.
Step #3
Painting a door is pretty straightforward but because this one has so much texture I am just using the brush. Break it up into sections – first the mouldings and then the flat sections. Be sure to always go with the grain of the timber. You’ll need to work quickly, so the paint doesn’t dry before you finish.
Step #4
Time to do the other side. Give it a day to dry.
Step #5
For the top coat, I’m using a water-based enamel which is great for doors and trims and easy to use. We are going to follow the same steps as our undercoat, after giving it a light sand. Remember to do the mouldings first and then the flat sections. Then you are done!
The project step-by-step for flat doors
Step #1
Painting a flat door is a little bit different and a bit quicker. Again, it needs a really good sanding. Remove all the dust before you start applying the undercoat.
Step #2
This time, we are going for a darker finish. To achieve the look, I am mixing in some tint with the undercoat. Any paint shop will be able to give you an extra shot of tint. I’m using a 9ml microfibre roller which I’ve already washed out which prevents any lint from getting stuck to the door.
Step #3
Undercoat can dry pretty fast, so you can be generous with it. Don’t put too much on that it starts to drip and slide. You will want to work all the undercoat into the door. At the end, with the lightest of touches, use a fairly dry roller, go over the door to remove any roller marks.
Step #4
Let it dry overnight.
Step #5
Always sand and dust in between each coat of paint. It is a pain, but it does give you a more professional finish.
Step #6
Use a water-based enamel for your top coat. The trick to getting a professional finish on a flat door is to paint fast, especially as water-based paints dry fast. You get the best result in the quickest time. I’m rolling half the door with a generous amount of paint, lightly going over it multiple times to even out the paint.
Step # 7
Here’s the secret … then with a new fairly dry brush I’m tipping the wet paint off. With the lightest of pressure on the brush, all the way from the bottom to the top and across the whole door. This will get rid of any roller marks. Paint the door edges and leave it to dry overnight.
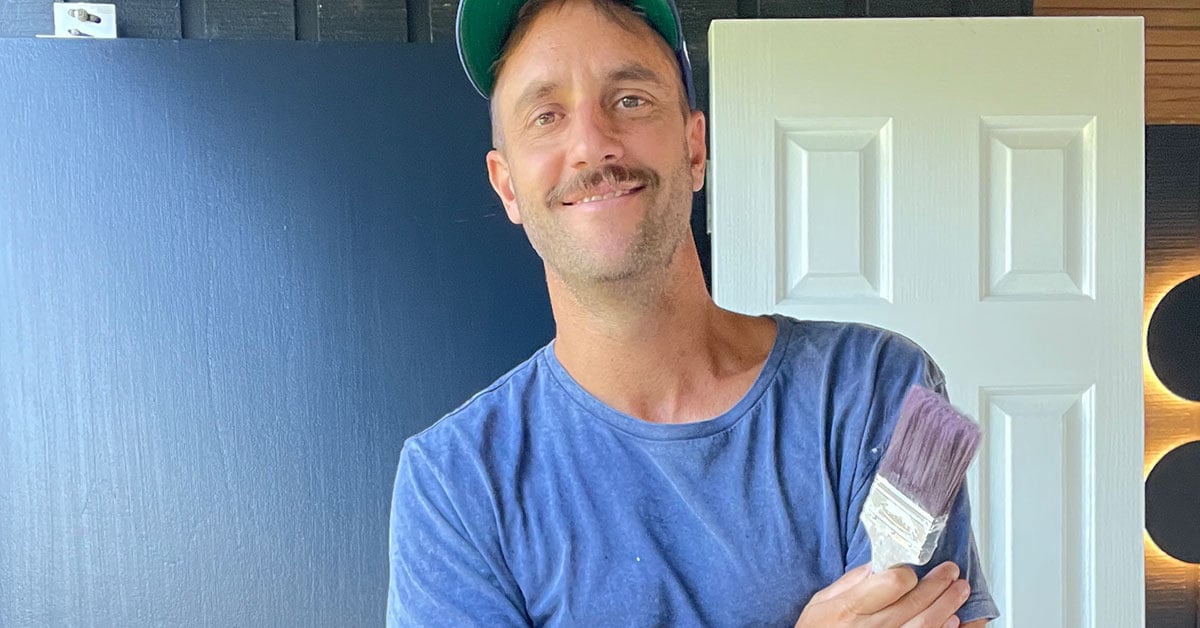
Add back your hardware and look at the end result! Stop paying for painters and do it yourself for a professional finish.
You can see the video of this project’s step-by-step here. And for more inspiration, DIY projects and styling tips, don't forget to follow our Instagram account!
DISCLAIMER - The information provided is for guidance and informational purposes only and does not replace independent business, legal and financial advice which we strongly recommend. Whilst the information is considered true and correct at the date of publication, changes in circumstances after the time of publication may impact the accuracy of the information provided. LJ Hooker will not accept responsibility or liability for any reliance on the blog information, including but not limited to, the accuracy, currency or completeness of any information or links.
Share