Painting can be one of the simplest jobs on the list, but sometimes it can cause the biggest headaches. So let's have a look at how to paint like a pro. We will go over the basics for painting both the inside and outside of your home and adding a bit of personality with a feature wall.
What you need
I'll never say it enough, don't scrimp on your tools. A good bush should set you back $15, and a roller about the same. Cheap tools will do a cheap job, so buy something that lasts. I like to use lambswool rollers.
So, to paint walls or features in your home, you will need:
- Brushes and rollers
- 120p – 180p sandpaper
- Top-coat plaster to fill any holes
- Painters tape
- Drop sheets
What type of paint should I buy?
For the interior walls, opt for an interior low sheen acrylic. Acrylic means it's a water-based paint, and low sheen means it doesn't reflect too much light. A matt paint will be harder to keep clean.
For the interior doors and trims, use an interior gloss or semi-gloss water-based enamel. These are water-based paint, but with the higher gloss level, it's harder-wearing paint that cleans up easily.
For the exterior walls, the higher gloss paints will be shinier and easier to clean, but the more matt the finish, the more modern it will look. However, it could be harder to keep clean. So let's get started
Painting Interior Walls
Walls cop a beating, especially with kids, and they're the most painted elements in a home, so it's important to get it just right.
Step #1
Preparation is everything. Walls will need a light wash and sand to get things all smooth. It's important to scrub away any grease or grime, as this will prevent the new paint from sticking. Sanding ensures the paint doesn't flake off and gets rid of all the lumps and bumps.
Step #2
I've filled all the holes with some plaster top coat. A quick dust-off, and you're ready to paint. Don't forget to put down a drop sheet to protect your flooring.
Step #3
You're going to cut in your walls first with a smaller brush, and then you can get the roller out. Get a decent amount of paint on the brush, without it dripping everywhere. Start in a corner and use your brush on its side and work the paint up and down, getting closer to the edge that you're cutting to on the wall. You want enough paint on the wall so that it isn't scratchy but not enough that it is running down the wall.
Step #4
It is time to fill in the blanks. Make sure you have just the right amount of paint on your roller. Start away from the edge and move the roller up and down about three or so times like a squished 'W' to spread the paint around. Then another few times to even out all the paint.
Step #5
When your roller feels fairly dry, very lightly roll top to bottom in a straight line, removing the roller from the wall at each pass. This will eliminate all those roller lines. Repeat these steps until your wall is finished.
Painting a Feature
Timber MDF panels are a fantastic way to add texture to a wall, but unfortunately, they can't be rolled. Luckily they come pre-primed, so it is just a matter of brushing two coats of wall paint up and down until the job is done.
Step # 1
Apply painter's tape to skirting. A bit of blue painter's tape will help you keep things tidy.
Step #2
Try to pop the covers off any switches and power points if you can, it just helps to neaten things up.
Step #3
Apply paint with your brush. Give it half a day to dry, light sand, and then you are ready for the final coat.
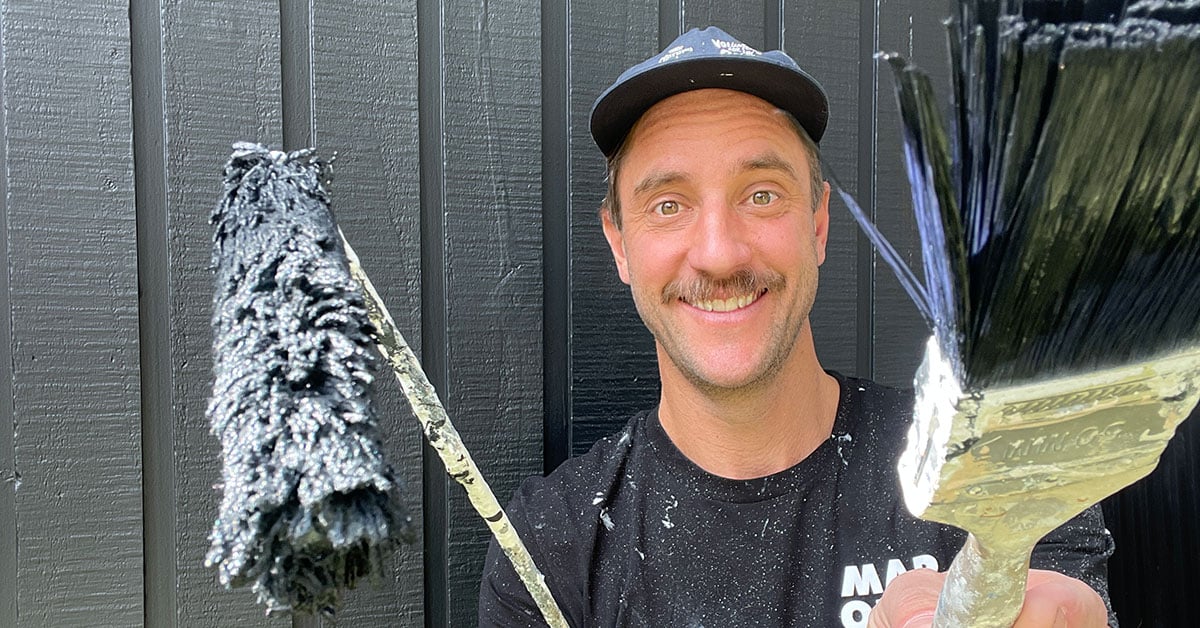
Painting Exterior Wall
Outside, things are a little bit different. Cladding is pretty rough, so I can slop the paint around a bit. If you're painting weatherboards or cement render, you will have to be a bit more careful.
You may need to wash a wall once or twice before you start, and it always pays to sand in between coats. So apply your paint with a roller, let it dry, sand, and paint again until you're happy with the result.
Remember, it doesn't cost the earth to keep your home up to scratch. If you know what you're doing, you can increase the value of your home in just a few weekends and keep your castle looking grand.
You can see the video of this project's step-by-step here. And for more inspiration, DIY projects and styling tips, don't forget to follow our Instagram account!
DISCLAIMER - The information provided is for guidance and informational purposes only and does not replace independent business, legal and financial advice which we strongly recommend. Whilst the information is considered true and correct at the date of publication, changes in circumstances after the time of publication may impact the accuracy of the information provided. LJ Hooker will not accept responsibility or liability for any reliance on the blog information, including but not limited to, the accuracy, currency or completeness of any information or links.
Share